How To Add Custom Fonts To Your Squarespace Website
Squarespace offers thousands of fonts and customisation that will suit many business themes. However, you’re not limited to only what they provide you with and can find other third-party sources. So why are you considering using another source? There are many reasons why you may not be satisfied with the supported fonts. For example, your business might use a specific font that is not provided on Squarespace, or you just don’t feel any fonts fit with the theme of your site. Whatever the reason, we are here to help you on your creative journey.
Purchasing your Font
If you use a font that is provided on Squarespace, they are free, and the licensing is included. However, to introduce a third-party font, you will have to purchase the right licensing.
Choosing a Font
Finding the right font might be difficult but it is not impossible! There is a seemingly infinite number of fonts available from multiple sources so you will definitely find what you are looking for.
LET’S GET STARTED
Locating Files
We start by locating the font file. The file name should end with TTF, OTF, or WOFF. Now that we have these let’s head over to the harder part: uploading your font files to Squarespace.
Go to your Squarespace menu and click
Design > Custom CSS > Manage Custom Files
Click Add Images or Fonts and select your font files
CSS Editor
Once that has been done, we enter a code that will help organise the font on Squarespace. This is called a CSS Editor.
Copy and paste this code to your Squarespace CSS Editor:
@font-face {font-family: 'font-name';src: url(URL.ttf/.otf),url(URL.woff),url(URL.woff2);}Where it says Font Name, replace it with the name of your font. You can choose any name for this, but you must remember exactly how you have it displayed to repeat it later in the process. For example, if you decide on the name of 'Funk Font', you must hyphenate it and word it as ‘funk-font’.
Adding your URL
What’s next...
1. The next step is to add the URL, and this requires copying the URL code from the specific fonts you chose.
2. Delete anything in-between the brackets () and put your URL from your fronts.
3. Go to Manage Custom Files and click the file you need the URL for your TTF, WOFF, and OTF files.
Organising your Font
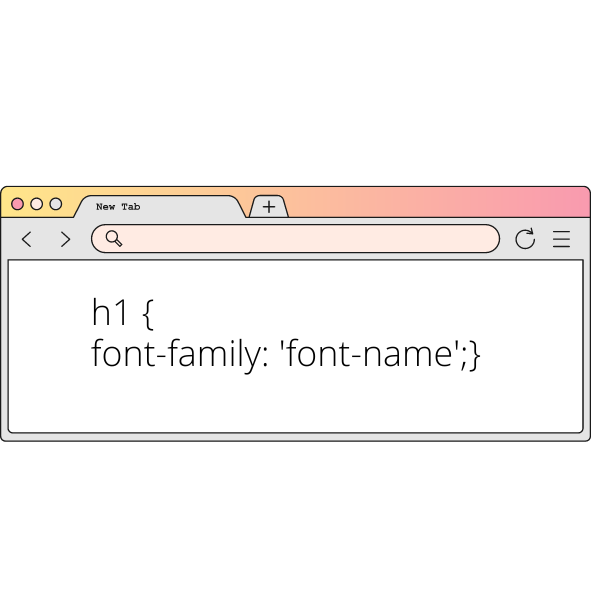
The only thing left to do is assign your font to a specific part of your website. For example, you could put it in the heading as Heading 1 or have it in another Summary Block. If you want your new font in a Heading, you go to your CSS Editor and add the code:
h1 {font-family: 'font-name';}Replace the ‘font-name’ with the name of the font you originally used. The process is the same for anywhere else you would like to place your font; you can just substitute H1 with H2, H3, or Paragraph/ Body Text.
Results
You now know how to add a custom font to your Squarespace site. This should encourage you to finally use the font of your dreams and make your site as creative as possible.


